How to hang a Shaker peg shelf (and find the studs)
Posted by LivingCraftCo, a small shop in Temecula, California that makes solid pine Shaker peg shelves. We link to our shelves at the end; the steps below are the same ones we give every buyer.
A home is a place of blessing, and a good peg shelf helps keep it welcoming: coats up, shoes tidy, little things in their place. Hanging one is a simple project, and most of the work is picking the spot and finding solid wall behind it. Coats and bags pull down and out on a shelf, so how it is fastened to the wall matters more than anything else. This takes about 20 minutes with basic tools.
What you need
- The screws that come with your shelf (they are included)
- A drill/driver
- Stud finder (or a small strong magnet and a pencil; see Step 2)
- Tape measure, a 2-foot level, pencil and painter's tape
- Only if a screw cannot reach a stud: heavy-duty drywall anchors (follow the package instructions and check the weight rating for your wall)
Step 1: Pick the height
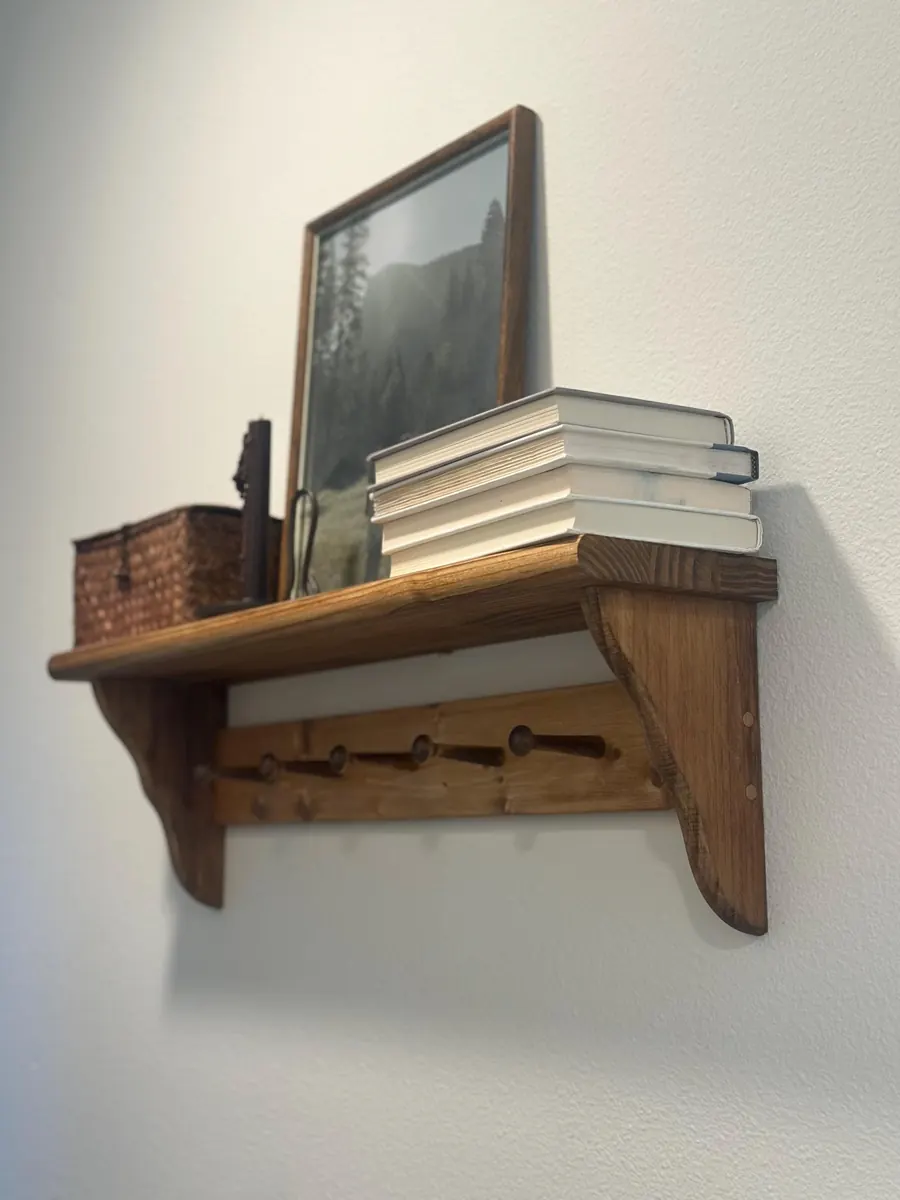
- Coat or bag rack: a common starting point is about 60 to 66 inches from the floor to the top of the shelf; adjust for who uses it. For kids, hang a second shelf lower.
- Towel rack: roughly shoulder height next to the tub or shower.
- Coffee bar or mug rack: high enough that mugs clear the counter and any cabinets.
Tape the shelf outline to the wall with painter's tape, step back, and check it before drilling anything.
Step 2: Find the studs
Studs are the vertical framing boards inside the wall. In most newer US homes they are about 16 inches apart, center to center; some walls use 24.
- Run the stud finder across the wall at your shelf height and mark both edges of each stud. The middle between the marks is the stud center.
- Check your work: studs in a row should be evenly spaced. An outlet or light switch box is usually fastened to the side of a stud, which is another clue.
- No stud finder? A small strong magnet will cling to the drywall screws or nails driven into studs. Slide it along the wall to find the line.
Plan around the shelf width:
- 20 inch shelf: with studs 16 inches apart you can usually catch two of them.
- 28 inch shelf: two studs at 16 inches usually fit comfortably.
- 46 inch shelf: it will cross two or three studs depending on where they fall.
Step 3: Line up the holes with the studs
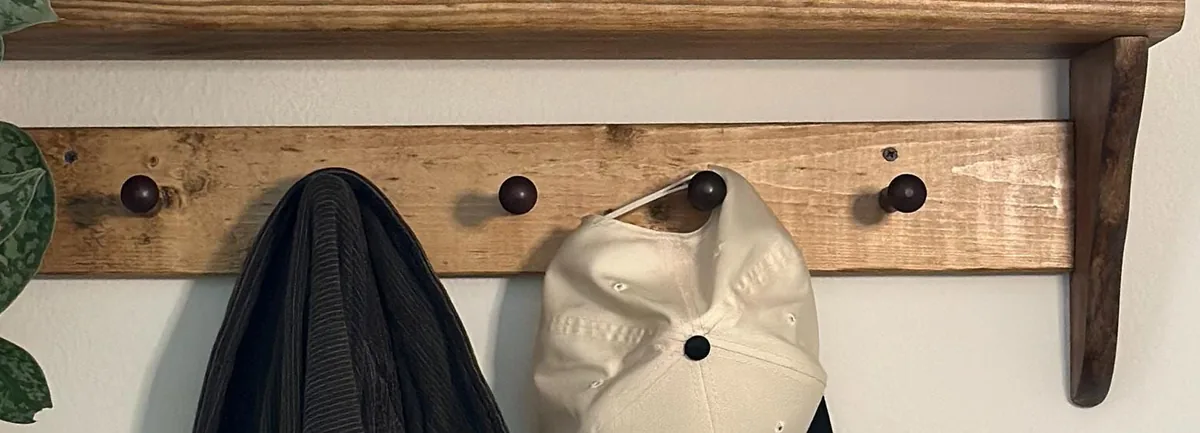
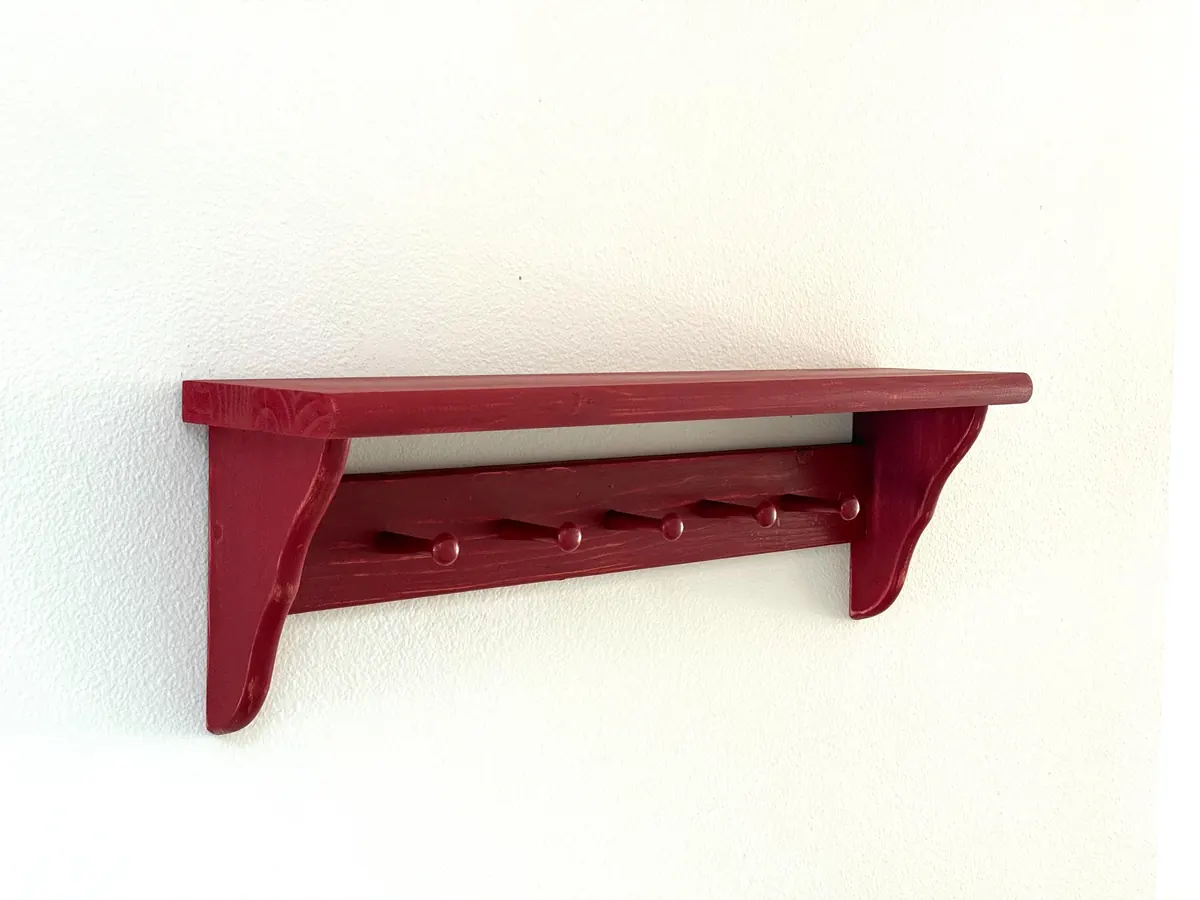
We pre-drill small holes in the backboard, above the pegs, so you can mount the shelf without drilling. Hold the shelf at your taped position, set the level on top, and see whether the pre-drilled holes land on stud centers. They are there for convenience: if they do not line up with a stud, you can drill anywhere through the backboard. Mark the spots that match your stud centers.
Step 4: Fasten it
- Use the included screws through the holes in the backboard.
- The screws should go into wall studs. If a spot cannot reach a stud, use heavy-duty drywall anchors for that screw, installed according to the package instructions.
- Do not over-tighten the screws. Snug is enough; over-tightening can crack the wood.
- Check level before the final turn, then pull gently down and out on the shelf. It should not move at all.
Please do not use the silver shelf brackets
We do not recommend using the silver shelf brackets. They are not strong enough to support the shelf. Use the included screws through the backboard instead.
Load it sensibly
- Hang the heaviest items (wet coats, full bags) closest to the studs, and spread weight across the pegs instead of piling it on one.
- In a nursery or kids' room, mount into studs and keep the shelf away from crib rails. See our guide on choosing a nursery wall shelf.
Common mistakes
- Fastening into drywall only, then hanging a heavy coat.
- Over-tightening the screws and cracking the wood.
- Trusting the first beep from the stud finder; always confirm with the spacing check.
- Hanging the shelf too high for the people who use it. Check with the tape first.
About our shelves
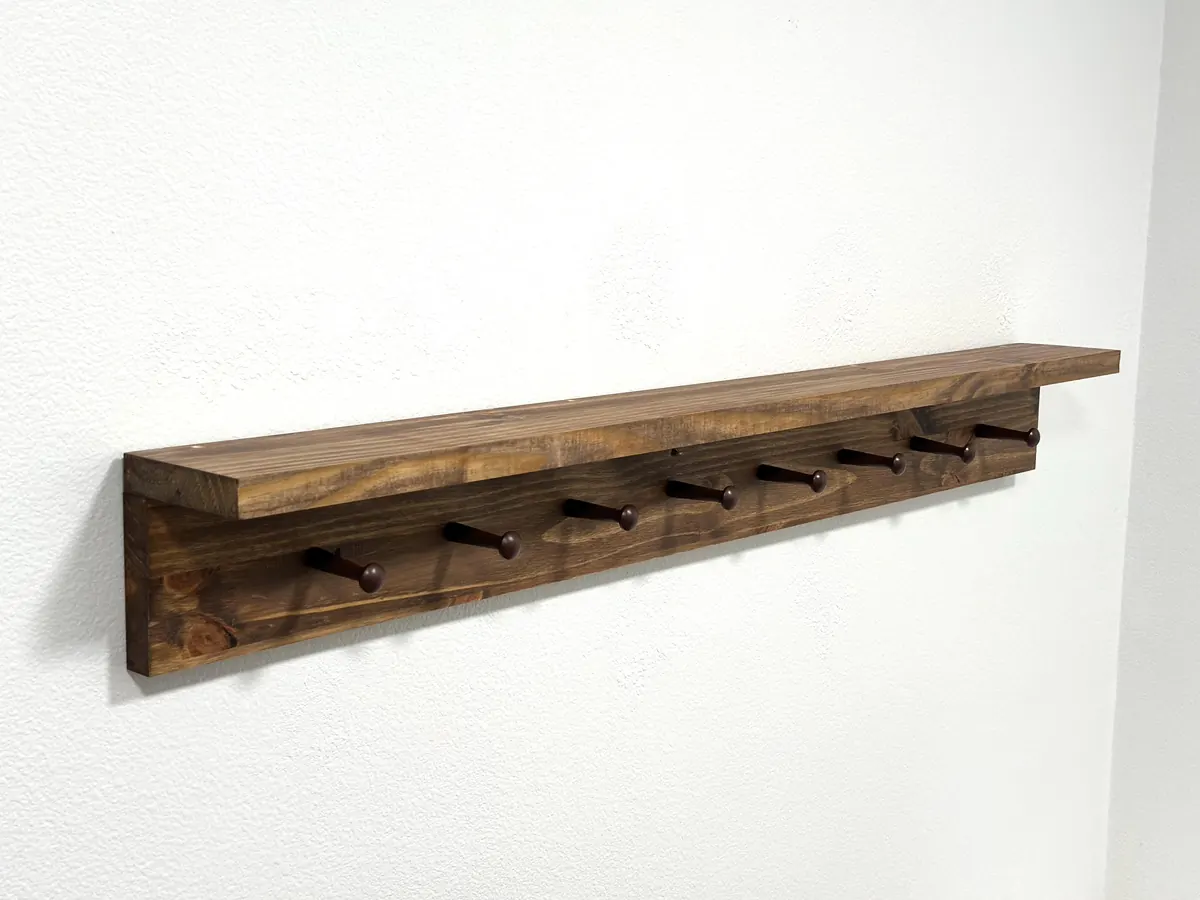
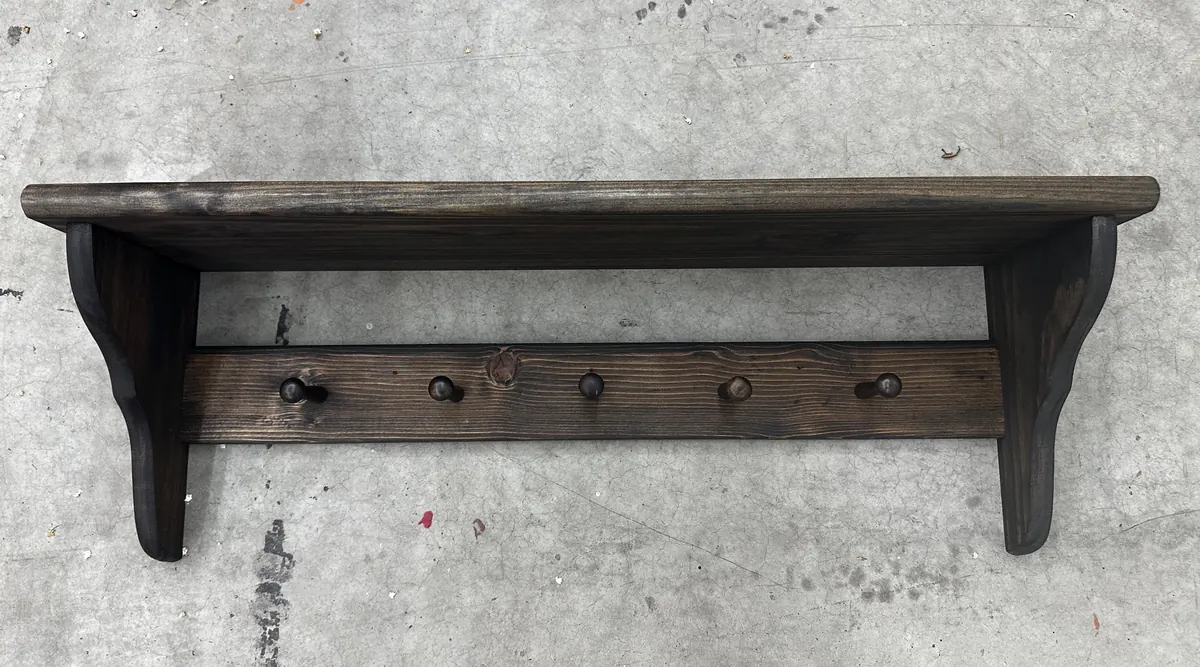
Each piece we build means a lot to us. It is more than wood and screws; it is a little piece of our home that we hope brings warmth and beauty into yours. We are grateful for the work and for the homes our shelves end up in. We make solid pine Shaker peg shelves, 9 inches high and 6.5 inches deep, in 20, 28 and 46 inch widths and a range of stain colors, in our workshop in Temecula, California.
Shop the shelves
Questions about hanging a shelf? Message the shop on Etsy.